Wednesday, 17 May 2017

My Thrifted/ DIY Sunburst Mirror


I've been drooling over beautiful Sunburst Mirrors all over Pinterest in the last few months.


Find these and other Sunburst Mirrors on Pinterest here.


I picked up a gold mirror from Talize for $3.99. I planned to make it into a Sunburst Mirror as soon as I had a few moments.


Months later....


The massive bare spot above my couch in my living room was starting to drive me crazy. And today was too hot to do any outside painting- or any outside work at all really.


Truth be told, I DID start to work on the Sunburst Mirror a couple of weeks ago.


I bought wooden dowels in 3 different diameters from Dollarama. I spray painted them gold.


I glued the different sizes onto the mirror, trying to give it a 'Sunburst-type-of feel".


Shortly after I had all of the wooden dowels glued on in the way that I liked, I tried hanging it on the wall. I did NOT make sure that it was secure.


And then THIS happened......


To be completely honest, I was SO disappointed and SO frustrated that I couldn't even look at this project for a number of days. Perhaps a bit melodramatic, I know.


BUT, then today, as I said- was too warm to do outside work, and I needed another way to procrastinate on my schoolwork, SOOOOOO...today my Sunburst Mirror was finished.


I'm still searching for another couple of perfect pieces for the wall. It is quite expansive. 


I'll likely paint the other sides of these Christmas wall hangings (here and here) and put them up...but really, who knows...?


Right now I'll bask in the glow of my Sunburst Mirror...


....and ALSO the fact that I have had over 100,000 hits to my blog! Woohoo! I'm pretty happy about that.


I hope you have all had a chance to glance at "Why I buy second-hand", or the "Books/Movies" that have influenced me, or maybe you'd like to see one of the many thrifted outfits "In My Closet".


I'm currently working on a givewaway to celebrate 100,000 hits.


Blog post to come....soon.


Blessings, friends.


Tuesday, 9 May 2017

For The Home- My DIY Half-A-Day Mailbox/ Light Refresh.


It's finally SPRING!

Time to FINALLY get at all the outdoor tasks that were piling up on my new home.

This past Saturday, while I was finishing up some school assignment, I decided to give my mailbox and my exterior light a quick refresh.

This isn't the best picture, but I forgot to take a before photo. This is cropped from another picture.


Before:


Again, I apologize for the poor quality photo. But I hope you can see that they were in pretty bad shape. And the light had ugly yellow glass for the light bulb to shine through.


First I sprayed the mailbox. It wasn't in too rough of shape- it was just an eye sore.


After a couple of coats of Rustoleum's Oil-Rubbed Bronze spray (my absolute fave- I also used it on my interior lights seen here), my mailbox looked brand new.


After:


I then sprayed the exterior light with the same spray paint. I removed the yellow glass, and replaced it with some chicken wire ($3 at Dollarama!)


After:


I'm SO happy with how this quick and easy project turned out! For a $13 can of spray paint (which I can use for other project now as well), and some chicken wire (I probably used 10 cents worth- if even that), I have a brand-new looking mailbox and light!


Thanks so much for stopping in and reading, friends.


Blessings!


Confessions of a Single Mom- Worth The Wait


Well, friends. It's been quite a while since I did a Confessions Of A Single Mom post.


Since calling off my wedding a year and a bit ago, I've tried to seek wisdom. I've tried to be content in myself. I've tried to really seek the purpose of my life- which has been rather challenging.


I'm not sure that I have gotten it all figured out quite yet, but I have to say- calling off a wedding that was  just never meant to be was the most difficult thing I have EVER done. But it was also the most fulfilling (?), gratifying (?), satisfying (?) thing that I have ever done.


It was clear to those around us that myself and my fiance (at the time), were not in a healthy relationship. But we did have a child together. So I suppose I felt that was reason enough to keep trying.(??) But in reality...it wasn't a reason at all.


For the past year or so, I have made 'WISDOM' the character trait to strive for. Last January Facebook actually told me that 'Wisdom' was my word of the year for 2016. Well... that was enough for me. 'Wisdom' became my goal for all of last year. 


Once I stopped trying to control my own destiny, once I stopped trying to make a partnership where there just wasn't one, once I tried to be content in the 'waiting' (or as my pastor/ friend calls it- in the 'Liminal Spaces'), things started to unfold as they were supposed to.


Shortly after really aiming to live 'in the waiting', I was able to afford a detached home a few doors down from my (and my children's) best friends' home. 


Shortly after striving to live 'in the waiting', I was accepted into teacher's college. Now I can work toward having a schedule that is more conducive to spending time with my boys.


Shortly after deciding to live 'in the waiting', I [re]met the man of my dreams. A man that is more perfect for me than anyone else that I have ever met in my many years on this earth.


Does this new love that I have discovered make the last 5 years worth going through? I really don't know. I'm sure we have heard the story many times...."Now that I really know what love is, it makes the last [insert time] worth going through".


I really just don't know. I was married 16 years ago. I expected that to be it. I never expected to be separated from that man, ever.


But life and other circumstances happened. 
There was infertility. There was schooling. There was that 'oh, we married young' thing. There was that 'meeting someone else' thing.


Does finding the 'REAL' love of your life make going through the worst pain that you can possibly feel worth going through? I struggle, because I still just don't know... 


But I DO know that the waiting was worth it. I DO know that being patient was worth it. I DO know that the man that I love now, is the man that is supposed to be in my life. 


This man was definitely worth waiting for. This man will care for my heart- I have no doubt. This man will care for my boys- because this I have witnessed. This man will support me when I need it- and this has been evident since I started school a few weeks ago.


Although it was so, so, SO difficult- these last few years- I could never comprehend the happiness, the pure joy that I would feel just a short time later. 


I am extremely glad that I was wise enough to not marry a man that I shouldn't have married. I am SO glad that I was able to just seek wisdom this past year. 


And I am beyond happy that I have met the man of my dreams. My 'unicorn'- if you will.


Do not be afraid of waiting, friends.


Love is definitely worth the wait.


Blessings.


Saturday, 21 January 2017

In My Cuban Closet 2017


As I stared down the barrel of of a new year, as I became more and more nervous about going back to school, as I was coming down from a Christmas Holiday high, I was able to fly away to the Santa Clara airport in sunny Cuba and relax for a 3 night stay in beautiful Cayo Santa Maria.  


For a 3 night stay, I didn't need to bring much. I spent the days by the beach- or pool when there were jellyfish (!), and brought a couple of dresses for the evenings.


Here are the thrifted dresses that were in my Cuban Closet this year:


Lace Dress- $12.99 Value Village
Black Wedges- FREE from Clothing Swap (seen here


Black Dress- Thrifted many, many moons ago. I can't even remember what I paid for it now.


Strapless Maxi Dress- $17.99 Value Village
Here I have it on with my black wedges.


But, I decided to wear the dress with my silver gladiator sandals instead of the wedges.
$12.99 Value Village, also seen here


I know I promised my readers more posts lately. I have a lot that I would like to blog about, actually! It's almost bubbling up inside of me....a new [amazing] relationship and how wonderful it feels, repurposed items around my new home, outfits, and an increasing anger at the "thrift" shops prices that seem to have no limit to how high they will climb...


But, unfortunately, my blogging will have to take a back-burner to my schooling. This will be a short season. And I will blog when I can...like tonight. :)


Thanks for reading, friends.


Blessings.


Tuesday, 13 December 2016

My Other Repurposed Hunk Of Plywood Sign- And My Other Christmas Decor


I finally finished my second repurposed 'hunk' of plywood sign for the wall above my couch.


The last blog that I posted was about finding some plywood in my garage and deciding to make some large Christmas signs out of them to hang above my couch. Which is a rather large area to fill. You can read that post here


This sign I decided to make less of a 'picture', and decided to simply write some wording on it. One of my favourite Christmas carols has always been 'Oh Holy Night'. This carol has some of my favourite lyrics in it. The lyrics I chose from 'Oh Holy Night' were the words "...A thrill of hope- the weary world rejoices". Isn't that a beautiful thought? I don't know about you, but I feel that the world really is a very weary place sometimes.


I used the same technique on this sign as I did for my other sign- drawing everything on with chalk first, then going over the lettering with paint when I was happy with the way that it looked.


Link for other sign here.


I used the same teal, grey, white and silver colours that I used for the other sign, so that they look like a set up on that expansive wall together.


 I thought that I would also add some of my other recycled/ repurposed/ thrifted Christmas decor to this post...since I've had requests to see how I decorate.


My Living Room:


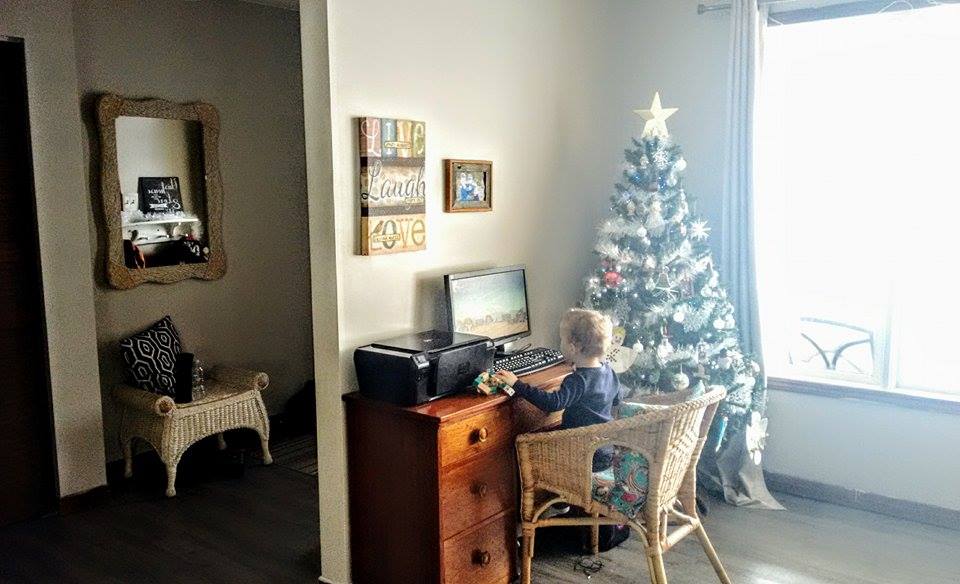
Here is my Christmas tree that I have reused for about 14 years now. In case you are curious about which is 'greener'- real or artificial- I wrote a post on researching it a few years ago. You can read about my findings here.


It's hard to see them in this photo, but I purchased these icicle-type Christmas lights for my window last year for about $15 off of kijiji.


My repurposed particle wood signs. Cost me $0.


Not Christmas decor- but I should mention that I picked up this seat/ottoman set from Value Village for $30.

The various holiday knick-knacks on my bookshelf were mostly given to me by my clients over the years. This year I put some thrifted lights inside my 'birdcage', and I am very happy with the result. 


My Dining Room: 


The Nativity Set was purchased by me my fist Christmas back here in Ontario in 2003.The runner was my Grandma's. The candle holders/ candles were thrifted.


The gift boxes have been gifted to me over the years. The Santa was my Grandmother's.


The Stairwell:


The garland, bows, and Snowman Family downstairs, all belonged to my Grandma.
(Try to imagine all of the natural wood painted out white- which is my plan...eventually).


My Gallery Wall/ Entrance Hallway:


Various Christmas decor items top my kijiji-ed dresser this Christmas. All were gifts from clients and loved ones.


My Kitchen: 


I used more of my grandmother's Christmas decorations in my kitchen. 


I used some red sparkly ornaments on some of my cupboards.


I used some of her garland above my kitchen window. 


 And these adorable vintage Santa candle holders/ Salt and Pepper shakers were my grandmother's as well. 


But, back to my sign- here it is hung for Christmas with the other sign, one more time. I'm thinking that I'll likely paint the other sides of the plywood to hang for the other 3 seasons of the year...but that is yet to be determined.


I'm really very pleased with how they turned out. 


I hope this post inspires you to repurpose/ recycle/ reuse your Christmas decor around your home!


Christmas Blessings, friends.


Friday, 2 December 2016

My Repurposed Hunk Of Plywood Christmas Sign


While looking for something in my garage the other day, I came across a few 'hunks' of plywood. I call them hunks only because they weren't cut in any real fashion except to be able to fit into my vehicle.


While fixing a hole in my floor a few weeks ago, to my annoyance, the plywood depth that I needed only came in a HUGE piece. And it was $40 dollars. I needed such a small scrap-of-a-piece for my floor- but I assured myself that I would find use for all the other pieces one day.


And so I have.


I have a very large, empty spot on my wall above the sectional in my living room.


For the last 2 months, since I've moved in, I've been debating what to put up in that space. 


Well, at least for now- I have something to put there. A painted wooden sign. And every time I look at it, I have the satisfaction of knowing that I made it with my own 2 hands. I LOVE that.


I started out with my 2 'hunks' of plywood.


I then painted one grey (I picked up a quart of this grey colour for $3 in the mis-tints at Home Depot- and am painting my stairs/railings with this colour as well. Post on that to come), and painted the other a teal colour that I had hanging around, as well (I used this teal colour for the vanity in my last home- you can read that post here).


The grey one I envisioned as a night sky with 3 wise men on a hilly terrain- very similar to this reclaimed wood sign that I loved found here


First I painted the terrain the same teal colour as the other sign. I plan to hang them next to one another, so the colours will work nicely.


I then chalked in the lettering first. This is a great way to get sizing/ spacing right with no commitment at all. Once I had the lettering to my satisfaction, I simply painted over the chalk with white paint.


While I had the white paint out, I painted on the Wise Men with their camels. I free-handed while looking at these photos as a guide.


I debated using the white for the lettering for the word ADORE, but I'm pleased that I decided to go with the teal instead.


I added some stars in the white paint, and went over it with some silver that I had in my basement.


In the end, I also added some silver to the word ADORE. And, I'm very happy that I did.


So, there you have it, friends. A wooden Christmas sign that cost $0 dollars to make. The plywood was sitting unused in my garage, and the paint was already in my possession.


I will post soon on the other sign once it is finished and I have them both hung up on my wall.


Thanks for reading.


Blessings. 


Monday, 28 November 2016

My Repurposed Ladder- Winter Edition


Well...I knew it had been a while since I last blogged.


New house, new relationship (will blog on that soon), kids, work.... all time-suckers.


But I didn't realize that my last blog was on the same item that I am writing on today- my repurposed ladder. Today it went from Fall decor to Winter decor.


I used the same ideas from the Fall sign- I wrote with a large black sharpie on 4 placemats, tied the placemats to the ladder rungs with yarn (actually saved the yarn from the fall sign, lol).


The vintage-y, Edison-type string of lights I picked up at the Re-Store for $40. 


 I never did get around to painting my garage door and my front door- but the red works for this season, I guess!


I apologize for the long break, readers, and will be writing a post on some more Christmas repurposed decorating ideas soon!


Blessings.


100 Days Sober

*Trigger Warning. Sexual Assault Content * Today I'm 100 days sober. Getting sober has definitely caused me to dig deep, wit...